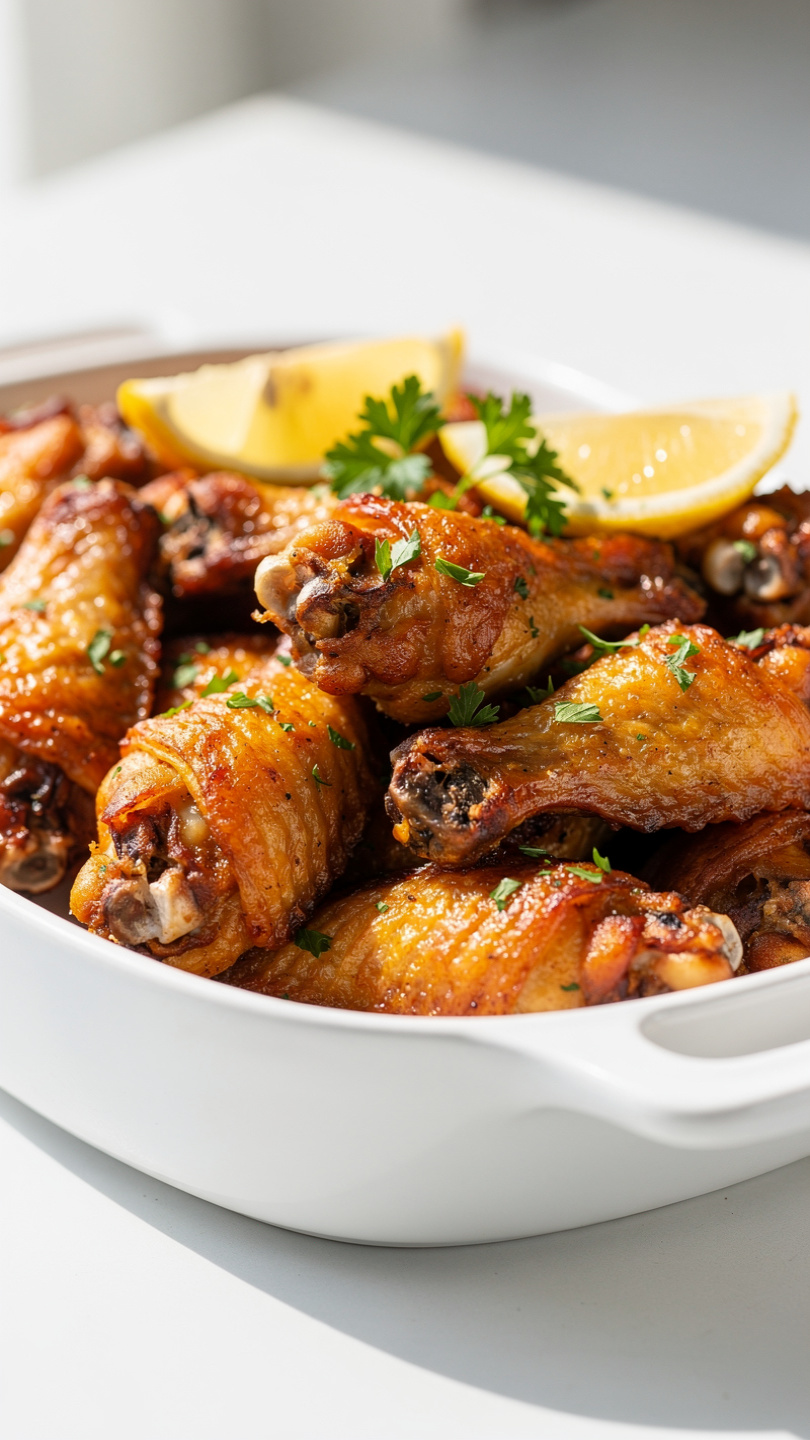
Perfectly Crispy Baked Chicken Wings
These perfectly crispy baked chicken wings use a simple baking powder trick to get shatteringly crunchy skin without a drop of oil. Better than fried and so easy to make at home!

The Secret to Shatteringly Crispy Baked Chicken Wings
If you have ever pulled a tray of wings out of the oven only to find soft, rubbery skin staring back at you, this recipe is going to change everything. These perfectly crispy baked chicken wings rival anything that comes out of a deep fryer, and the secret is a single pantry ingredient you already own: baking powder.
No oil bath. No flour dredge. No complicated technique. Just wings that are golden, crunchy, and impossible to stop eating.
Why Baking Powder Is the Game-Changer
This is the science behind crunchy baked chicken wings using baking powder: it raises the pH of the skin, which helps it brown faster and blister beautifully in the oven. At the same time, it draws moisture out of the surface, giving you that papery, lacquered texture that cracks when you bite into it.
Important: Always use aluminum-free baking powder. Brands that contain aluminum can leave a faint metallic aftertaste on the finished wings. Check the label before you start.
One tablespoon of baking powder per two pounds of wings is the sweet spot, balanced with salt and a simple blend of garlic powder, smoked paprika, and black pepper that makes the seasoning sing without overwhelming the flavor of the chicken.
The Right Tools Make a Real Difference
For perfectly crisp baked chicken wings, a sturdy wire rack set inside a rimmed baking sheet is non-negotiable. It lifts the wings off the pan so hot air can circulate all the way around them. A reliable instant-read thermometer also takes the guesswork out of knowing when they are done.
The Low-and-Slow Start (Do Not Skip This)
Most recipes go straight into a screaming hot oven. This one starts low at 250 degrees F for 30 minutes first. That initial gentle heat renders the fat sitting underneath the skin before the high heat crisps everything up. The result is skin that is light and crunchy rather than greasy and chewy.
After that low start, crank the oven to 425 degrees F and let the wings roast for another 40 to 50 minutes, flipping once halfway through. By the time they come out, the skin is deep amber, blistered, and genuinely crunchy.
Chef's Tip: Let the coated wings rest uncovered in the refrigerator for at least one hour before baking, and up to 24 hours if you have the time. This extra resting period is what separates good crispy baked wings from great ones. The skin dries out further and the seasoning penetrates the meat.
Buffalo Sauce: Simple and Classic
While the wings are finishing in the oven, a quick buffalo sauce comes together in about two minutes: melted butter whisked into your favorite hot sauce. Frank's RedHot is the classic choice for its vinegar-forward heat that coats without drowning. Toss the wings the moment they come out of the oven so the sauce clings to the hot, crispy skin rather than making it soggy.
Of course, if buffalo is not your thing, these crunchy baked chicken wings work just as well with honey garlic, lemon pepper butter, or a sticky gochujang glaze. The crispy base is a perfect canvas for nearly any sauce.
Ready to make the crispiest wings of your life? Here is everything you need:
Perfectly Crispy Baked Chicken Wings
These perfectly crispy baked chicken wings use a simple baking powder trick to get shatteringly crunchy skin without a drop of oil. Better than fried and so easy to make at home!
Ingredients
- 2 lb chicken wings, split into flats and drumettes, tips removed
- 1 tbsp baking powder, aluminum-free; do NOT substitute baking soda
- 1 tsp kosher salt
- 1 tsp garlic powder
- 1/2 tsp smoked paprika
- 1/2 tsp black pepper, freshly ground
- 3 tbsp unsalted butter, melted, for tossing after baking
- 3/8 cup hot sauce, Frank's RedHot or your favorite brand
Instruction
Pat the chicken wings completely dry with paper towels. This step is critical for achieving crispy skin, so be thorough.
In a large bowl, whisk together the baking powder, kosher salt, garlic powder, smoked paprika, and black pepper.
Add the wings to the bowl and toss until every piece is evenly and lightly coated in the seasoning mixture.
Place a wire rack on top of a foil-lined baking sheet. Arrange the wings in a single layer on the rack, leaving a little space between each one.
Refrigerate the wings uncovered for at least 1 hour, or up to 24 hours. This dries out the skin further and dramatically improves crispiness.
When ready to bake, preheat your oven to 250 degrees F (120 degrees C). Bake the wings on the lower rack for 30 minutes. This low-and-slow start renders the fat under the skin.
Increase the oven temperature to 425 degrees F (220 degrees C). Move the baking sheet to the upper rack and bake for an additional 40 to 50 minutes, flipping the wings once halfway through, until the skin is deep golden brown and audibly crispy.
While the wings finish baking, melt the butter in a small saucepan over medium-low heat and stir in the hot sauce until combined.
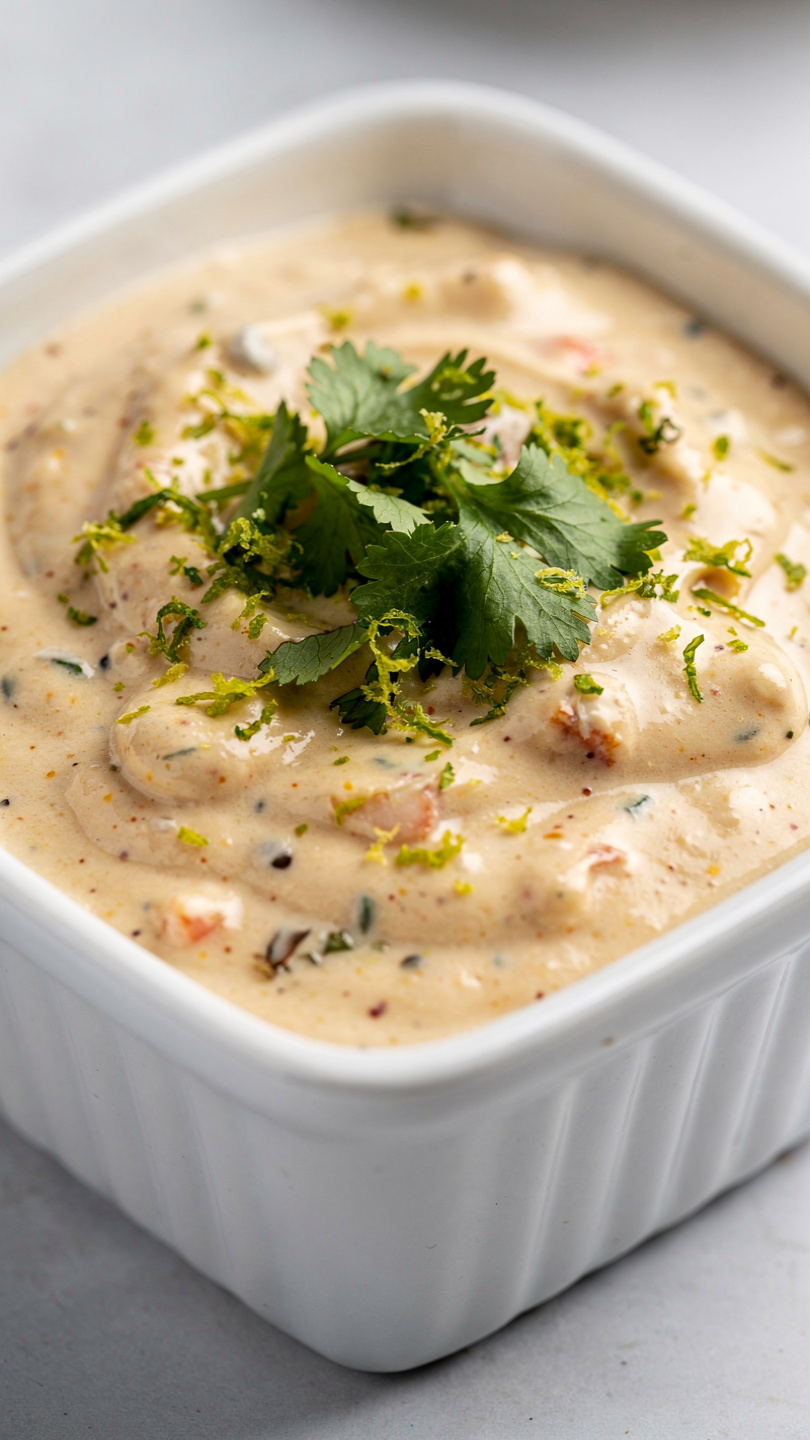
Remove the wings from the oven and immediately toss them in the buffalo sauce until fully coated. Serve right away with blue cheese or ranch dipping sauce.
Equipment
- Rimmed baking sheet
- Wire cooling rack
- Large mixing bowl
- Paper towels
- Aluminum foil
- Small saucepan
- Tongs
- Instant-read thermometer
Notes
Serving and Storing
Serve these tastes-better-from-scratch crispy baked chicken wings straight from the toss with a generous pile of celery sticks and your choice of blue cheese or ranch dipping sauce.
Leftovers keep in the fridge for up to 3 days. Skip the microwave when reheating. Instead, spread them on a wire rack and run them through a 400 degree F oven or air fryer for 8 to 10 minutes. The crunch comes right back.
Whether you are making these for game day, a weeknight dinner, or a party spread, this recipe delivers perfectly crisp baked chicken wings every single time without the mess of frying.