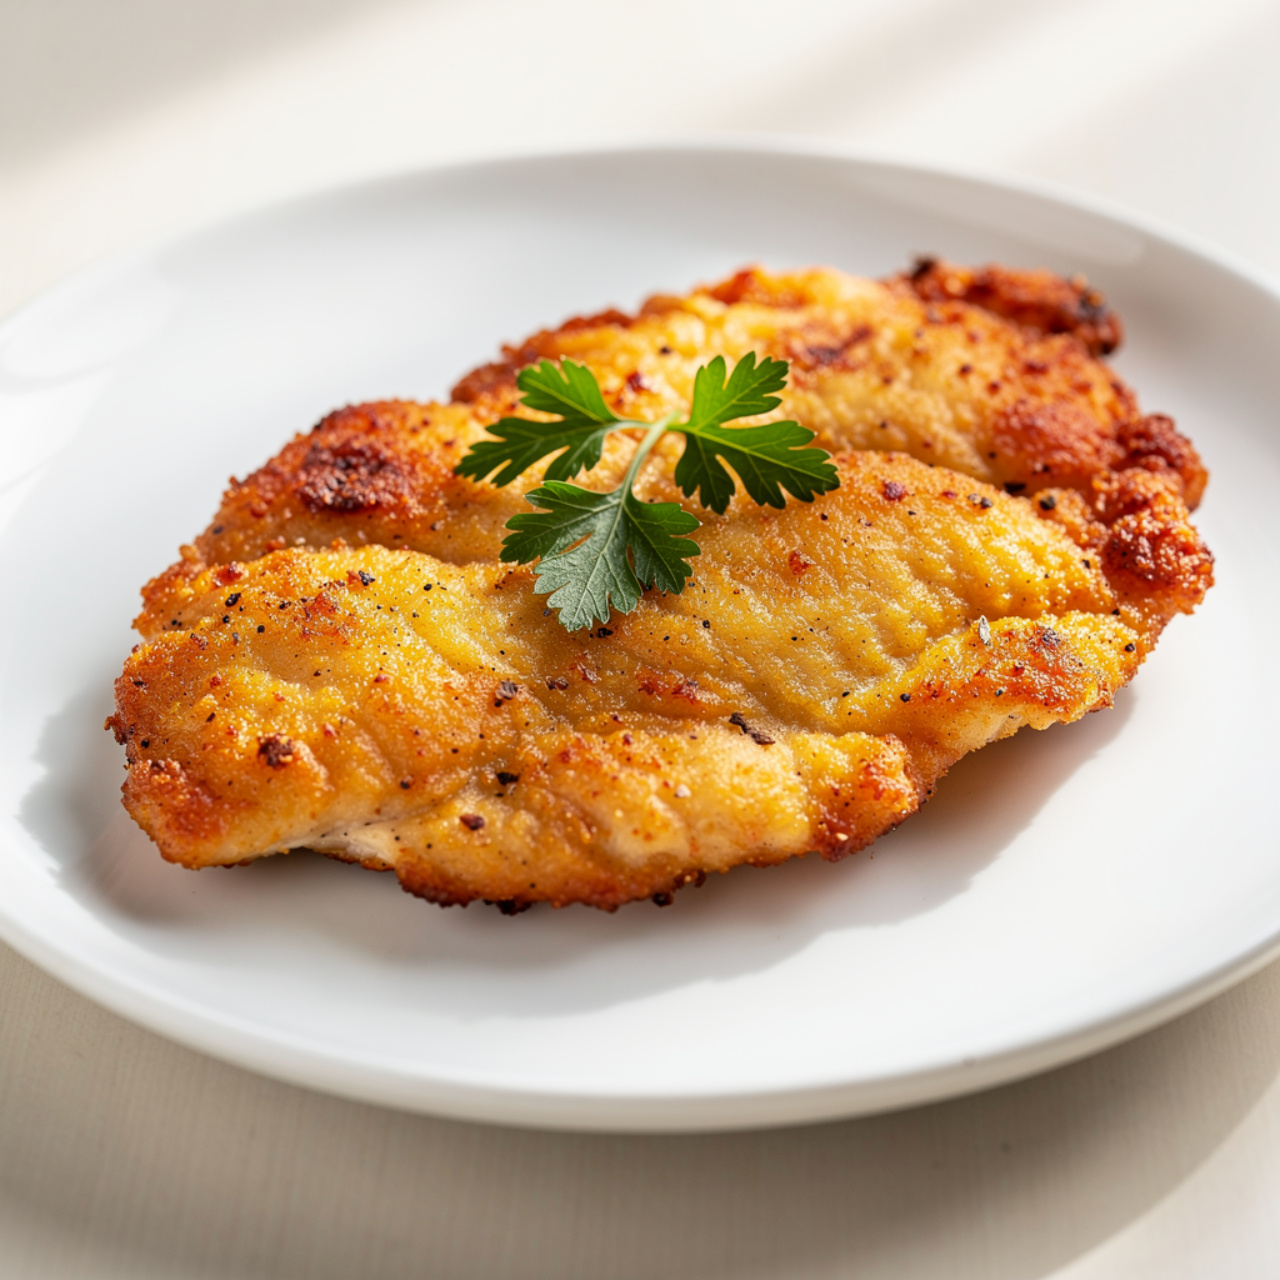
The Best Crispy Chicken Cutlets (Perfectly Golden Every Time)
These golden, crispy chicken cutlets are tender on the inside and perfectly crunchy on the outside, ready in under 30 minutes for a weeknight dinner the whole family will love.

The Only Chicken Cutlet Recipe You Will Ever Need
If there is one recipe that deserves a permanent spot in your weekly dinner rotation, it is a perfectly cooked chicken cutlet. Crispy, golden, and shatteringly crunchy on the outside with juicy, tender meat inside, a great chicken cutlet is one of those meals that feels both comforting and a little special at the same time. Whether you call them chicken kotlet, milanesa, or just a classic breaded chicken breast, the techniques behind making the best chicken cutlets are the same worldwide.
This recipe draws on everything that actually works: a seasoned breadcrumb and panko blend for maximum texture, a mayonnaise-boosted egg wash for incredible tenderness, and a simple stovetop fry that delivers results any restaurant would be proud to serve. You can also adapt this for the convection oven if you prefer a lighter, hands-off approach.
Why This Recipe Works Better Than Most
Most chicken cutlet recipes stop at eggs and breadcrumbs. This one goes a step further. Here are the key details that make the difference:
- Pounding the chicken thin ensures even cooking with no dry edges or raw centers.
- Mixing panko and plain breadcrumbs gives you that signature crunch without a coating so thick it overwhelms the meat.
- Adding mayonnaise to the egg wash is a trick borrowed from food bloggers and tested home cooks alike. It sounds unusual but the results are undeniable: juicier meat, better coating adhesion, and a richer golden color. This is the secret behind many "best ever chicken cutlets" recipes you have seen on Food Network and beyond.
- Resting on a wire rack instead of paper towels after frying keeps the crust crispy rather than steaming it soft.
Chef's Tip: Do not skip the pounding step. Thin, even cutlets are everything here. A rolling pin works perfectly if you do not have a meat mallet.
The Right Tools Make a Real Difference
For this recipe, a heavy-bottomed skillet like a cast iron pan distributes heat evenly so your cutlets brown uniformly without burning. A reliable instant-read thermometer takes all the guesswork out of knowing when the chicken is done. Using the right oil temperature is also critical: too low and the coating soaks up oil and turns greasy, too high and it burns before the chicken cooks through.
Stovetop vs. Convection Oven: Which Is Better?
Both methods produce excellent results depending on what you are after.
Stovetop frying gives you the deepest golden crust and the most classic texture. It is the method used in traditional Italian-American cooking and the approach most similar to buttermilk fried chicken cutlets you would find at a diner.
Convection oven baking is a great option when you want something a little lighter or when you are cooking for a crowd and cannot stand over a skillet. The circulating hot air in a convection oven crisps the coating beautifully, especially with a light spray of oil over the breaded surface. Expect about 20 minutes at 425 degrees F, flipping halfway through.
For truly the best of both worlds, many cooks do a quick pan sear for 2 minutes per side to set the crust, then finish the cutlets in a hot oven.
How To Make the Best Chicken Cutlets: Tips Before You Start
Before you dive in, a few quick notes:
- Dry your chicken with paper towels before dredging. Moisture is the enemy of a crispy coating.
- Season every layer. Salt in the flour, in the breadcrumbs, and on the chicken itself. Under-seasoned cutlets are a common mistake.
- Do not crowd the pan. Cook in batches if needed. Crowding drops the oil temperature and leads to steaming instead of frying.
- Press the breadcrumbs firmly onto the surface of the chicken. A coating that is not well attached will fall off in the pan.
Chef's Tip: For extra-crispy buttermilk fried chicken cutlets, soak the pounded chicken in buttermilk with a pinch of salt for 30 minutes before your breading station. It tenderizes the meat and gives the flour something to grip.
Ready to bring it all together? Here is the full recipe with every detail you need:
The Best Crispy Chicken Cutlets (Perfectly Golden Every Time)
These golden, crispy chicken cutlets are tender on the inside and perfectly crunchy on the outside, ready in under 30 minutes for a weeknight dinner the whole family will love.
Ingredients
- 2 lb boneless skinless chicken breasts, sliced in half horizontally and pounded to 0.25-inch thickness
- 3/4 cups all-purpose flour
- 2 large eggs, beaten
- 2 tbsp mayonnaise, stirred into the egg wash for extra tenderness
- 1 cups plain breadcrumbs
- 1/2 cups panko breadcrumbs, combined with plain breadcrumbs for extra crunch
- 1/4 cups grated Parmesan cheese, finely grated
- 1 tsp garlic powder
- 1/2 tsp onion powder
- 1/2 tsp smoked paprika
- 1 tsp kosher salt, divided between flour and breadcrumb mixtures
- 1/2 tsp black pepper, freshly ground
- 1/2 cups neutral oil for frying, vegetable, canola, or avocado oil
- 1 fresh lemon, cut into wedges for serving
Instruction
Place the chicken breasts on a cutting board and slice each one in half horizontally to create two thinner cutlets. Cover with plastic wrap and pound each piece to an even 0.25-inch thickness using a meat mallet or rolling pin. Season lightly with salt and pepper on both sides.
Set up a three-station breading line: In the first shallow dish, add the flour and season with a pinch of salt and pepper. In the second dish, whisk together the eggs and mayonnaise until smooth and fully combined. In the third dish, mix together the plain breadcrumbs, panko, Parmesan, garlic powder, onion powder, smoked paprika, salt, and pepper.
Working one cutlet at a time, dredge the chicken in the flour and shake off the excess. Dip it fully into the egg and mayonnaise mixture, letting the extra drip off. Press it firmly into the breadcrumb mixture on both sides, patting gently to make sure the coating adheres well. Set the breaded cutlets on a wire rack or baking sheet while you heat the oil.
Pour the oil into a large heavy-bottomed skillet and heat over medium-high heat until it shimmers, about 2 to 3 minutes. To test readiness, drop a pinch of breadcrumbs into the oil. If they sizzle immediately, it is ready.
Add the cutlets to the skillet in a single layer without crowding. Cook for 3 to 4 minutes on the first side without moving them, until deep golden brown. Flip and cook for another 3 to 4 minutes on the second side. The internal temperature should reach 165 degrees F (74 degrees C).
Transfer the cooked cutlets to a wire rack set over a baking sheet to drain. Avoid placing them directly on paper towels, as this can trap steam and soften the crust. Serve immediately with fresh lemon wedges.
Optional convection oven method: Preheat your convection oven to 425 degrees F (220 degrees C). Place the breaded cutlets on a greased wire rack over a baking sheet and spray lightly with cooking spray. Bake for 18 to 22 minutes, flipping once at the halfway point, until golden and cooked through.
Equipment
- Large heavy-bottomed skillet or cast iron pan
- Meat mallet or rolling pin
- Three shallow dishes or pie plates for breading
- Wire rack and baking sheet
- Instant-read meat thermometer
- Tongs or spatula
Notes
Serving Suggestions and Variations
A crispy chicken cutlet is one of the most versatile things you can make. Here are some of the best ways to serve it:
- Classic style with roasted potatoes and a simple green salad, finished with a squeeze of fresh lemon.
- Chicken Parmesan by topping the cutlet with marinara and fresh mozzarella and finishing it under the broiler for 3 minutes.
- Sliced over pasta with garlic butter and Parmesan for a satisfying bowl.
- In a sandwich on a toasted brioche bun with arugula, shaved Parmesan, and a drizzle of honey.
For a lighter version, try baking in your convection oven as described above or using an air fryer at 400 degrees F for 12 to 14 minutes, flipping once.
However you serve them, these cutlets are the kind of recipe people ask for again and again. Once you dial in your technique, they come together faster than a takeout order and taste worlds better.